HOW TO SHOOT IN MANUAL MODE
Manual Mode
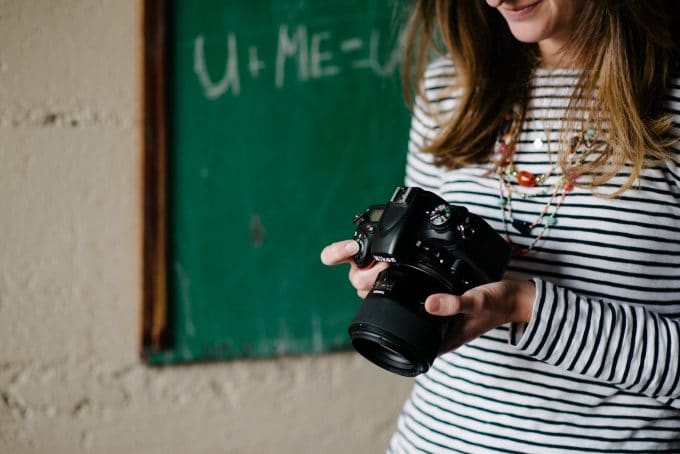
Don’t we all want to know how to take good pictures? The best way to improve your photography is learning how to shoot in manual mode. Check out 5 Reasons to Shoot in Manual Mode if you need more convincing.
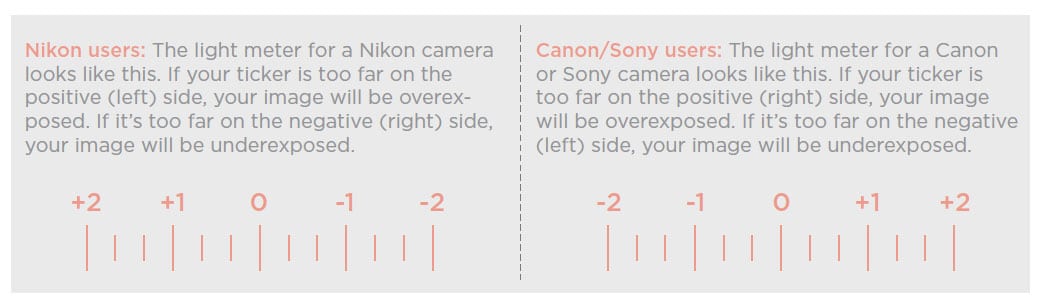
When learning how to shoot in manual mode you need to know and understand the “exposure triangle”. This is made up of your aperture, shutter speed, and ISO. You use these three components to get your light meter to be at zero. To find your light meter look through your view finder. It should be that little line graph at the bottom that looks a little like this: – 2 . . . 1 . . . 0 . . .1 . . .2 + (there should be a little flashing vertical line or “ticker” underneath the graph, this is what you are adjusting)
**Please make sure you check on your light meter which side the + and – signs are on. My example is for Canons. Nikons look like this + 2 . . . 1 . . . 0 . . . 1 . . . 2 – **
How to shoot in manual mode
1. Set my aperture – that way if I’m trying to get a blurry background I have control over that.
2. Set my shutter speed – remember to try not to go below 1/125; if my “ticker” is not where I want it after adjusting these two, then I…
3. Change my ISO – I try to do this one last just because I like my ISO to stay at the lowest number possible. Typically, I can get the exposure I want by just changing my aperture and shutter speed
-
No.
01
Aperture
The aperture or sometimes called the “f stop” is what allows you to have those blurry backgrounds people often ask me about. The lower the number (f1.8) only has a small part of your photo in focus and then slowly gets blurrier as you go out from you focal point. On my 50mm, the lowest aperture I can go is f1.8. If I shoot “wide open” (on the lowest number your lens will go) then I will probably only have one eye in focus but will have a nice blurry background. It is possible to get both eyes in focus but you need to be sure you on the same plane as your subject. You would need your camera to be parallel to your subject’s eyes. Basically, get down on their level. The higher the number of your aperture the more of your picture will be in focus.
Read more: Changing Your Focal Point
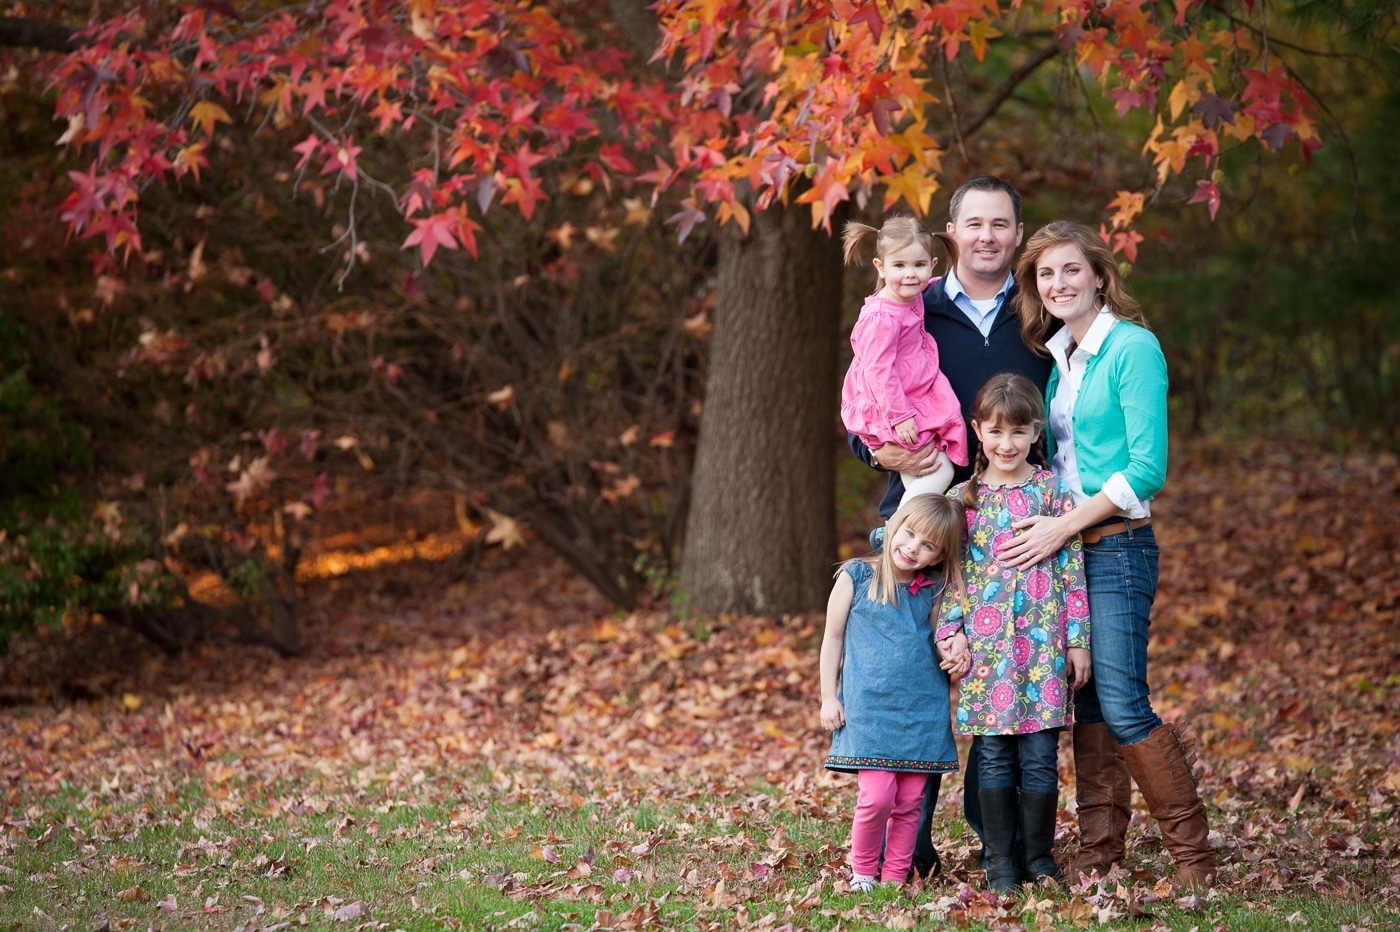
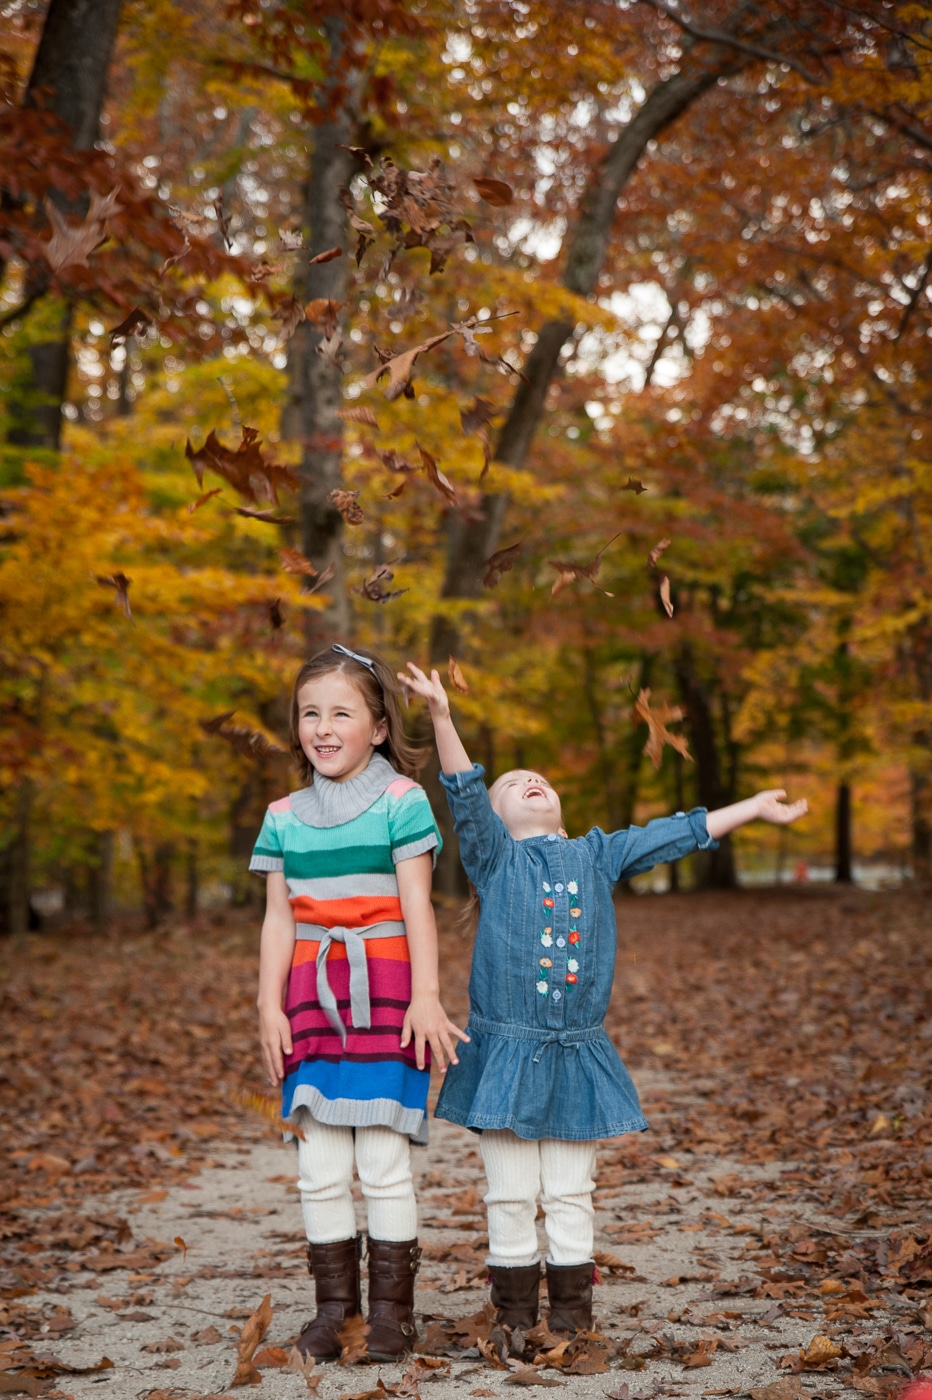
For example, if you are shooting people and only want them to be in focus then you want to make sure that your aperture is at least at the same number as there are people in the photo. If I were taking pictures of both my girls I would want to make sure my aperture was at least at f2.0. I like it to be around f2.8 when I shoot my girls though. If there are 5 people then you would want to be at least at f5.0 and so on. When shooting landscape you would want your aperture number to be a lot higher so that the majority of your picture is in focus.
Read more: Search catchlight 5 Ways to Create Catchlights
Changing your aperture affects the amount of light in your shot. The lower the number, the more light is brought in. The higher the number, the less light. Therefore, if you do a lot of indoor shooting, it is nice to have a lens with a lower aperture such as f1.8.
Remember: Lower number aperture = more light and a blurrier background / Higher number aperture = less light and a sharper background
SETTINGS: ISO 100 | f/3.5 | SS 1/320
SETTINGS: ISO 800 | f/4.0 | SS 1/200
The type of lens you use is a big factor as to what aperture you can set it on. When I had a kit lens (the one that came with my camera body) on my old canon, the lowest it went was f3.5. This made it very difficult for me to use in low lighting situations such as indoor shots. Also, with an aperture that high you are less likely to get a blurry background. From the encouragement of a friend, I bought a 50mm 1.8 prime lens. This is an EXCELLENT lens if you are serious about learning how to shoot in manual mode, it is an inexpensive lens with a low aperture. Some cameras are not compatible with this lens, such as the Nikon d3000 and Nikon d5000. For those cameras maybe a 35mm 1.8 would be a better fit.
Read more: 6 reasons your photos are blurry
-
No.02
ISO (pronouced by the letters I – S – O)
ISO was once explained to me as the worker bees. If you have it set at 100, it is like you are sending out 100 worker bees to bring back the light for you. If you set it higher, 1600 for example, you send out more worker bees, 1600 in this case, to bring back light for you. The lower the number the less light. Something to keep in mind about ISO is it can sometimes affect the amount of “noise” in your picture. Noise is when your picture looks grainy or pixelated. If your photo is properly exposed it shouldn’t matter what your ISO is set at because it shouldn’t be grainy.
Try to remember that typically if you are outside shooting then you can have a lower ISO such as 100 or 200. If you are indoors with low lighting you may want to increase your ISO to around 800.
Remember: Lower ISO = less light / Higher ISO = more light
SETTINGS: ISO 100 | f/3.2 | SS 1/500

SETTINGS: ISO 900 | f/2.2 | SS 1/160
Read more: 7 Tips to Take a Sharp Photo
-
No.
03
Shutter Speed
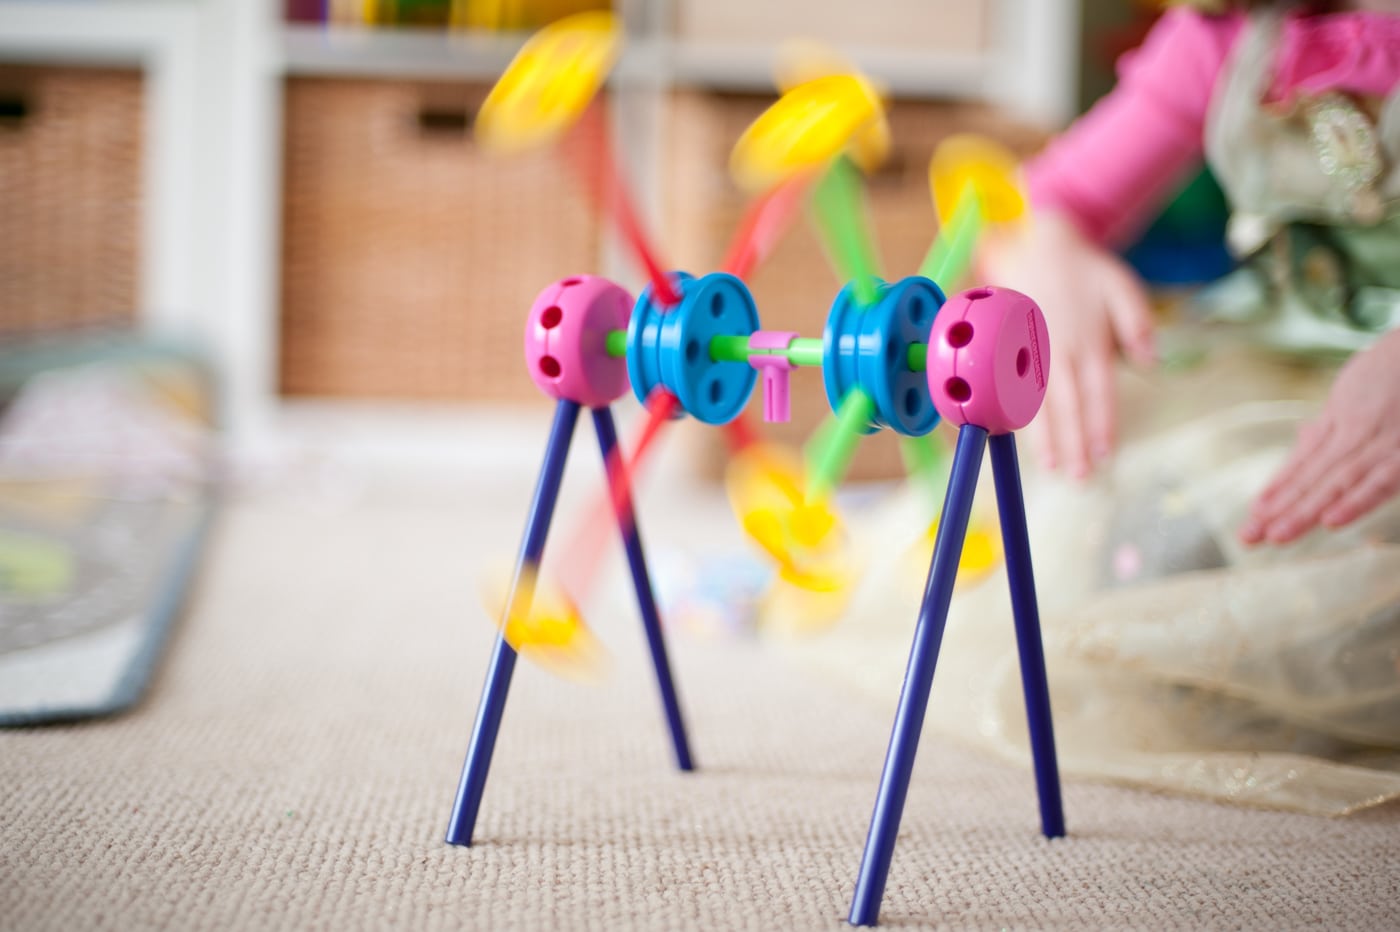
This is the amount of time that your shutter is open. When looking at your camera your shutter speed is written as 1/(a number). This means that your shutter is open for 1/(whatever the #) of a second. When shooting people and especially children try not to go any slower than 1/125. This will help to prevent a blurry picture. Sometimes 1/125 is not fast enough and you still get some movement in your photo, like in the picture of Kate running, but it is a good rule of thumb.
If your shutter speed gets too slow such as 1/40 then “camera shake” may affect the sharpness of your photo. You shake your camera whether you mean to or not, which is why you want to keep your shutter speed as high as possible.
The lower the bottom number the more light will come in because your shutter is open longer. The higher the bottom number means less light will be coming in because it is open for less time. If you are in a low lighting situation and you are taking a picture of something stationary, you can lower your shutter speed to something crazy like 1/20 but just make sure you use a tripod!
Remember: Lower shutter speed = more light but your subject may be blurry / higher shutter speed = less light but possibly a sharper subject
SETTINGS: ISO 400 | f/4.5 | SS 1/125
SETTINGS: ISO 200 | f/1.4 |SS 1/30
Read more: Read more: 5 Tips for Freezing Motion in Photographs